2
3
4
5
1
112 ELECTRIC NETTING
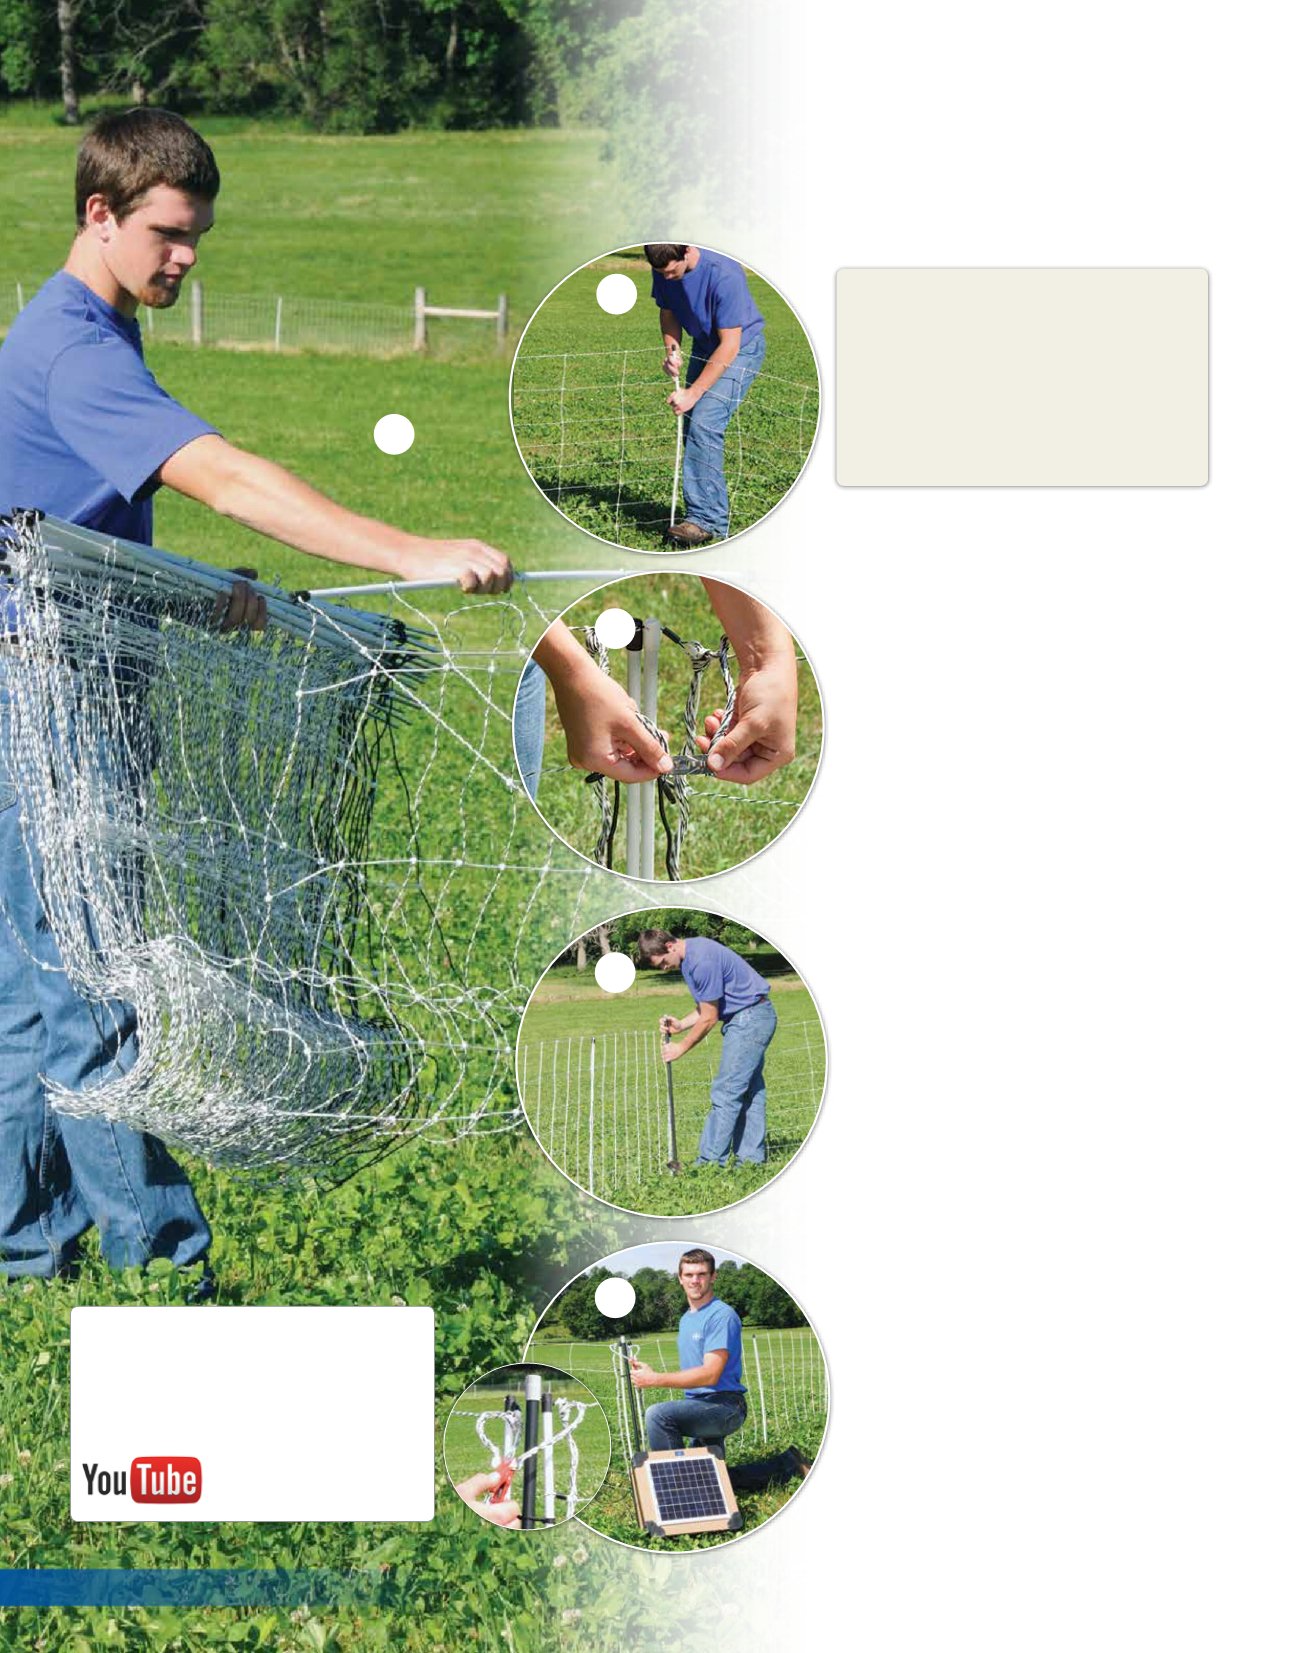
www.premier1supplies.com • 1-800-282-6631 Need complete instructions? • Instructions will be enclosed in the box when you receive your order. • Visit our website (video and/or written instructions are available).(left) These steps are with
ElectroNet but the process is the
same for all electric netting.
How to Install
Why it’s easy to install…
We can understand why those without
experience might doubt those who say “it’s
very easy.”
But net actually is a product that’s easier
to use than it appears—
if you follow the
instructions included with each net.
A key to its ease and speed is that
netting needs minimal tension—which
means small, light posts that are both easy
to carry (they’re built into the net) and
easy to push or step into the soil.
Site preparation…
• Carry roll(s) of netting to proposed
fence line.
• Prepare a line by mowing or trampling
down all vegetation over 4" tall. If
mowing isn’t practical, use a vehicle
(e.g. truck or ATV) to make a track.
Then install the fence in the track.
• For longer fences, we put the rolls into
a vehicle and unload them as we drive
along the intended fence line.
The 2 most common errors…
• Not energizing it or using an
energizer
too small in joules of output
(ignore miles of fence as a guide).
Failure is almost guaranteed if net is
not energized properly.
• Rolling it up like a carpet instead of
first folding it up by the posts.
Most of the nets we receive back
from unhappy users are rolled like a
carpet instead of folded—
even though
our instructions
(which include how-to
photos)
are specific on this point.
Installation steps…
1. Unroll and unfold the net.
2. Push in the posts.
3. Join the 2 rolls
(as needed)
.
4. Install additional support posts as needed. We suggest our FiberTuff posts. See details on pp. 130–131.5. Connect energizer. Check the voltage.
It usually takes less than 10 minutes
to go from a roll of out-of-the-box
netting to an installed erect fence.
“How-to install electric netting” www.premier1supplies.com


